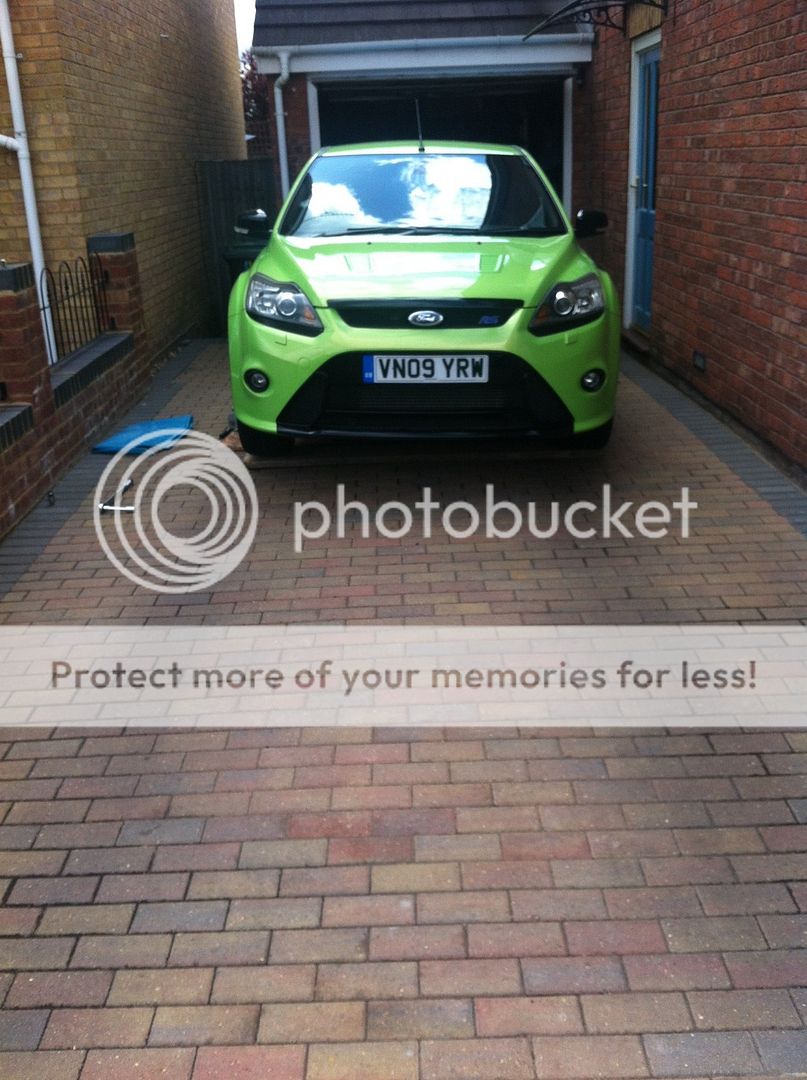
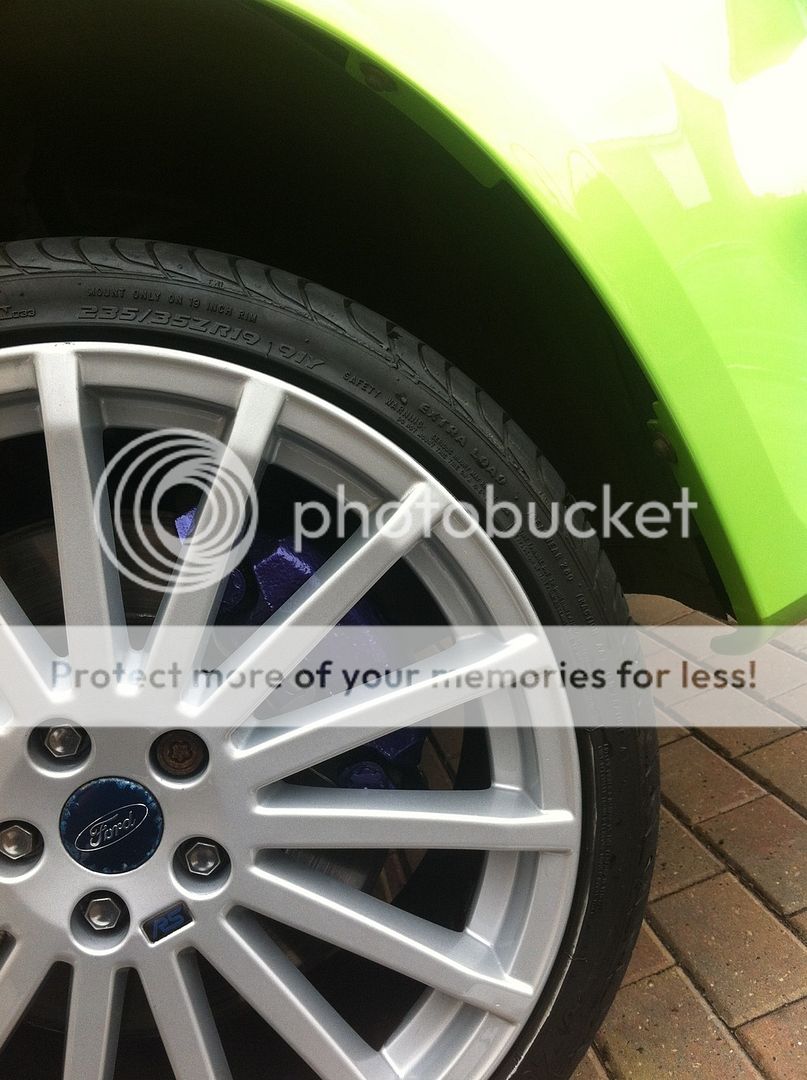
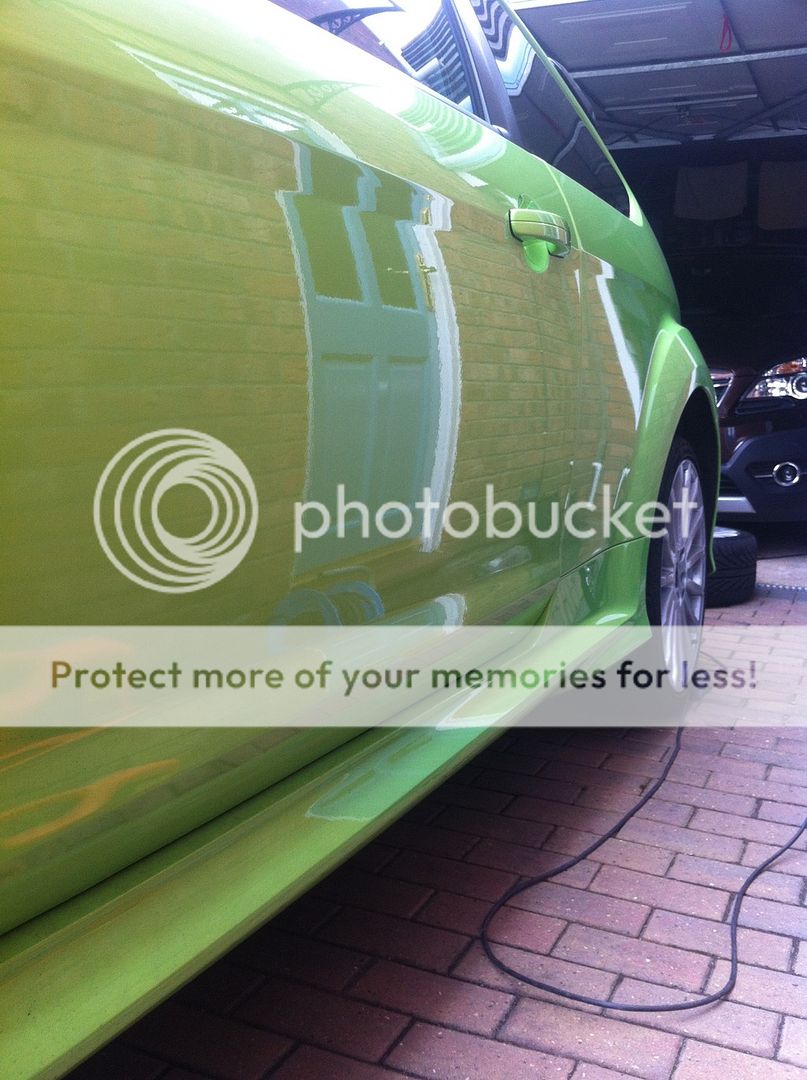
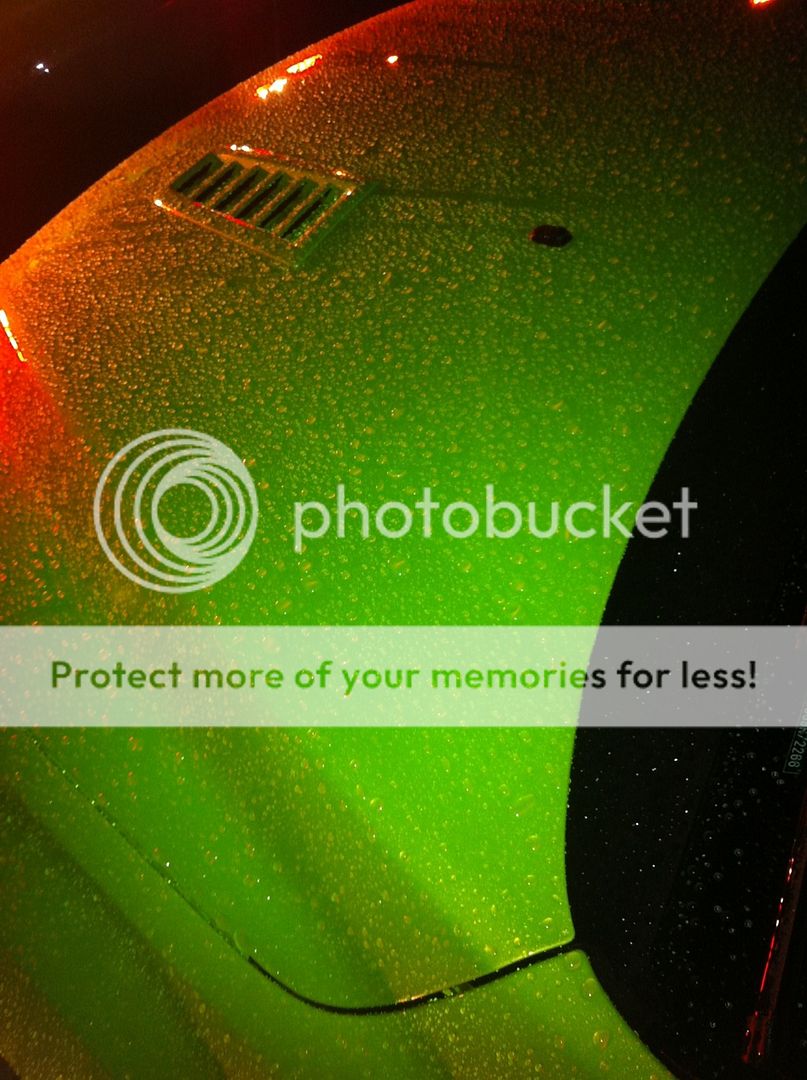
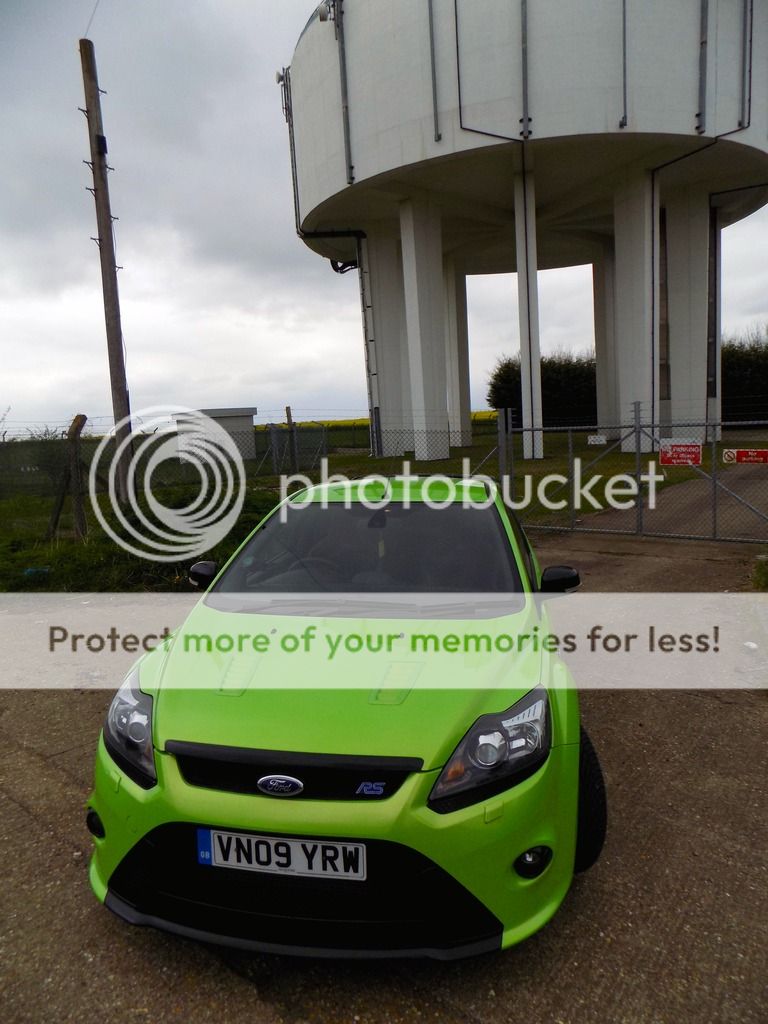
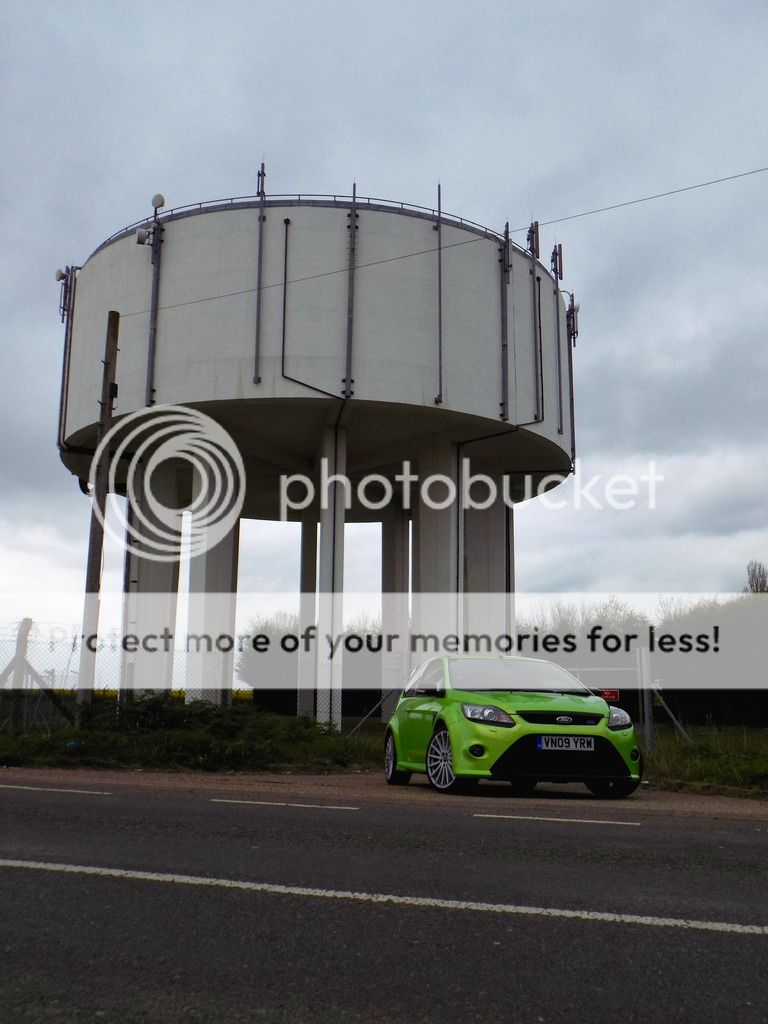
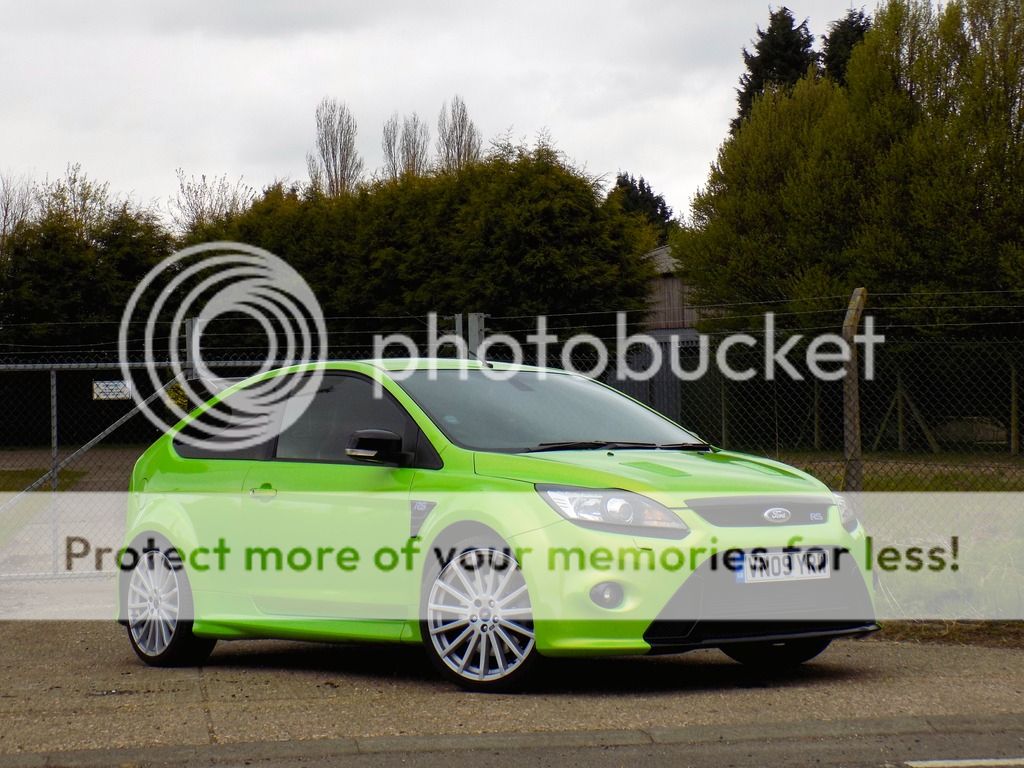
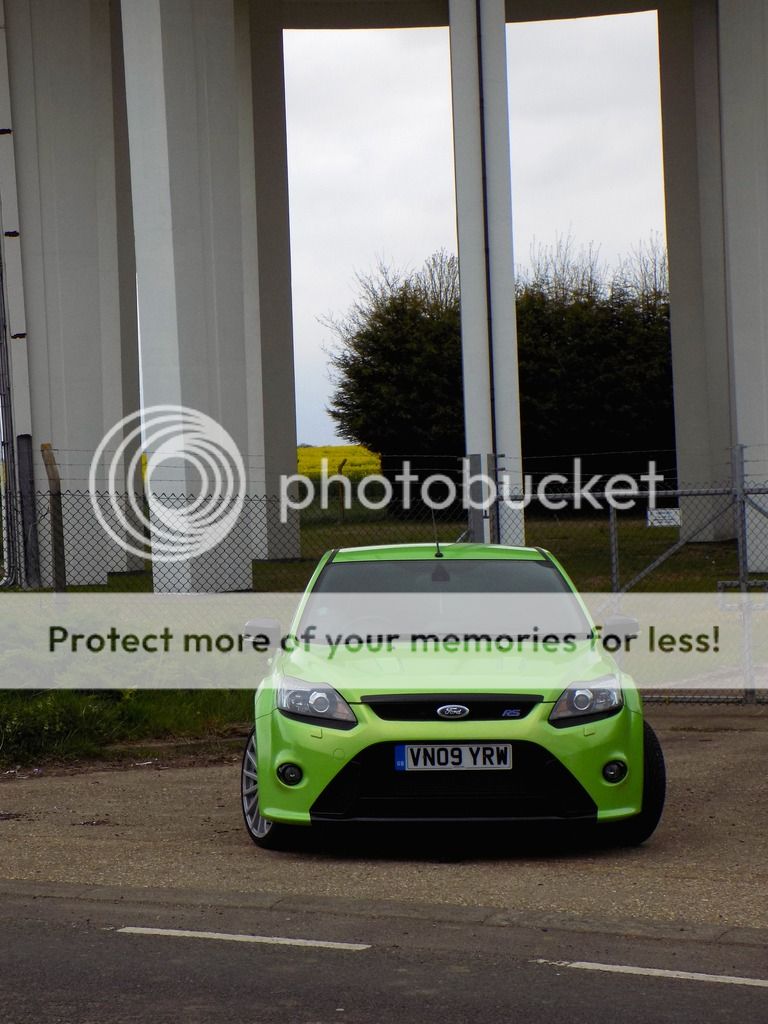
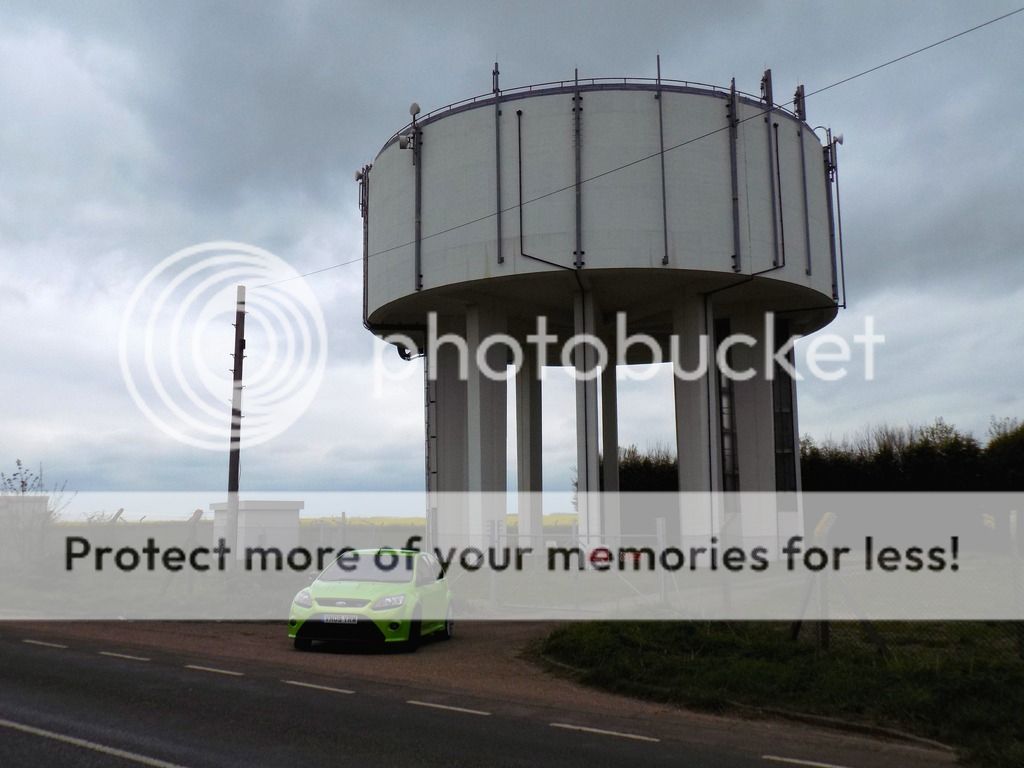
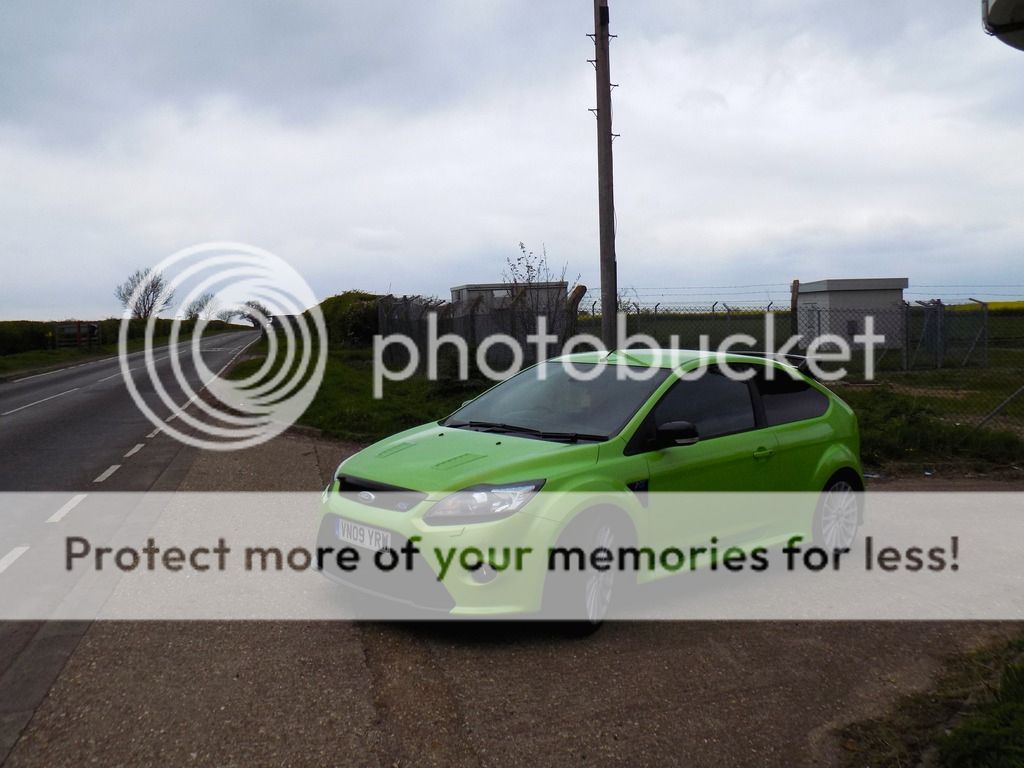
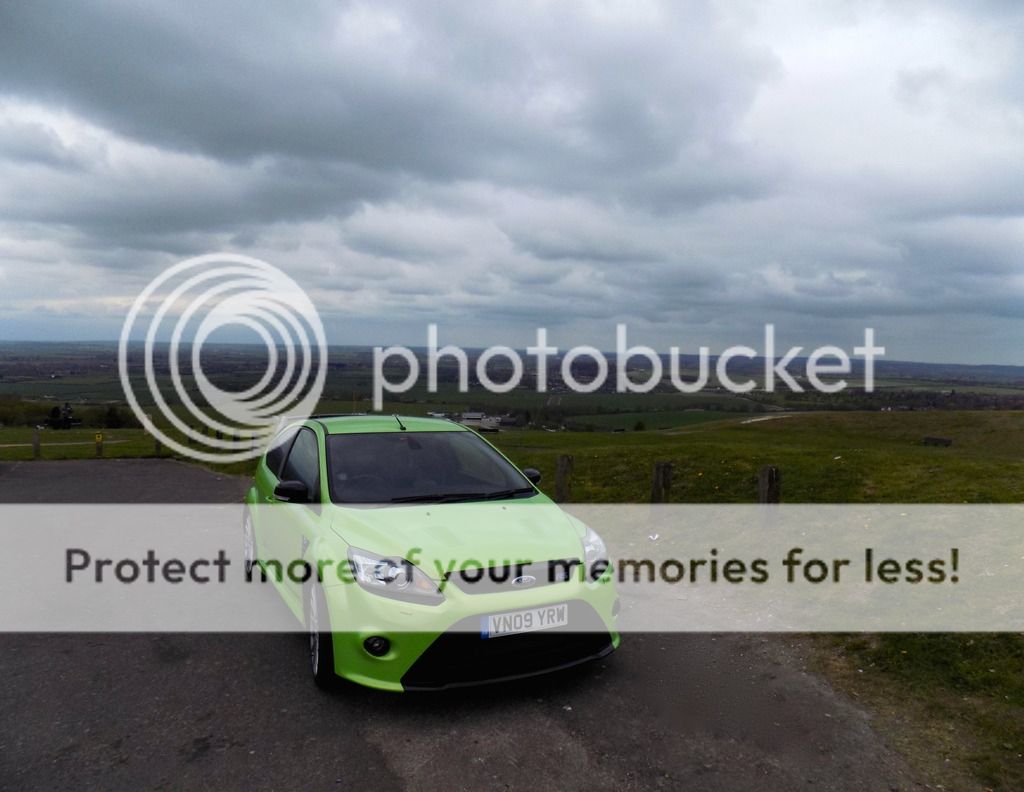
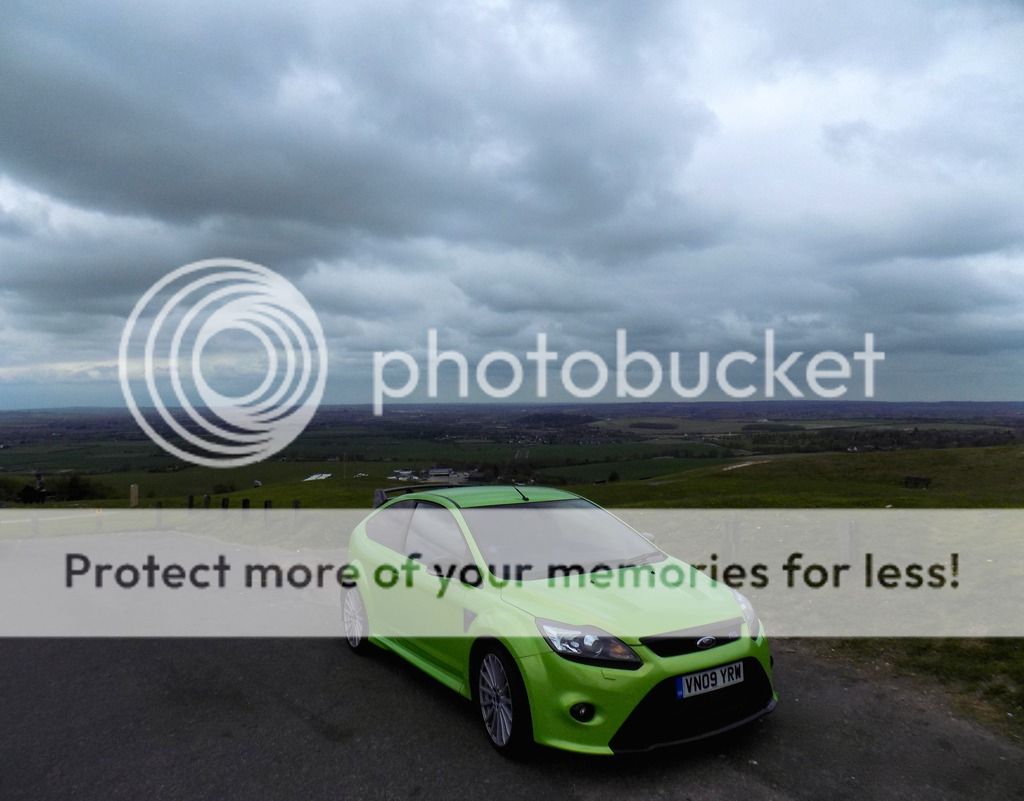
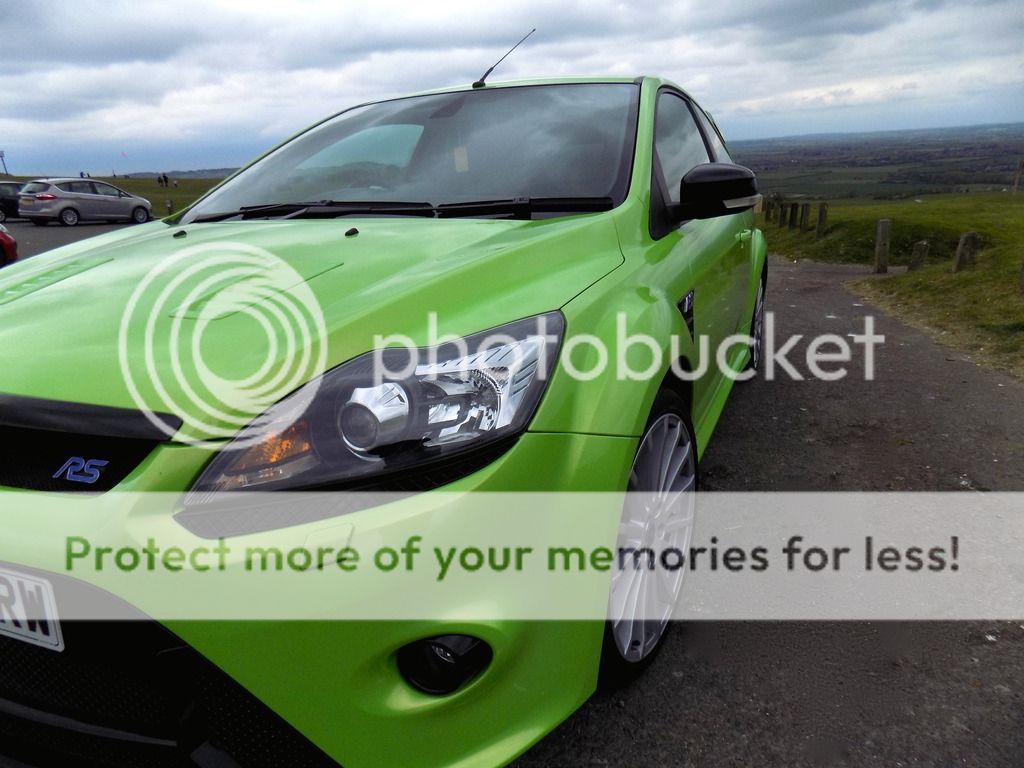
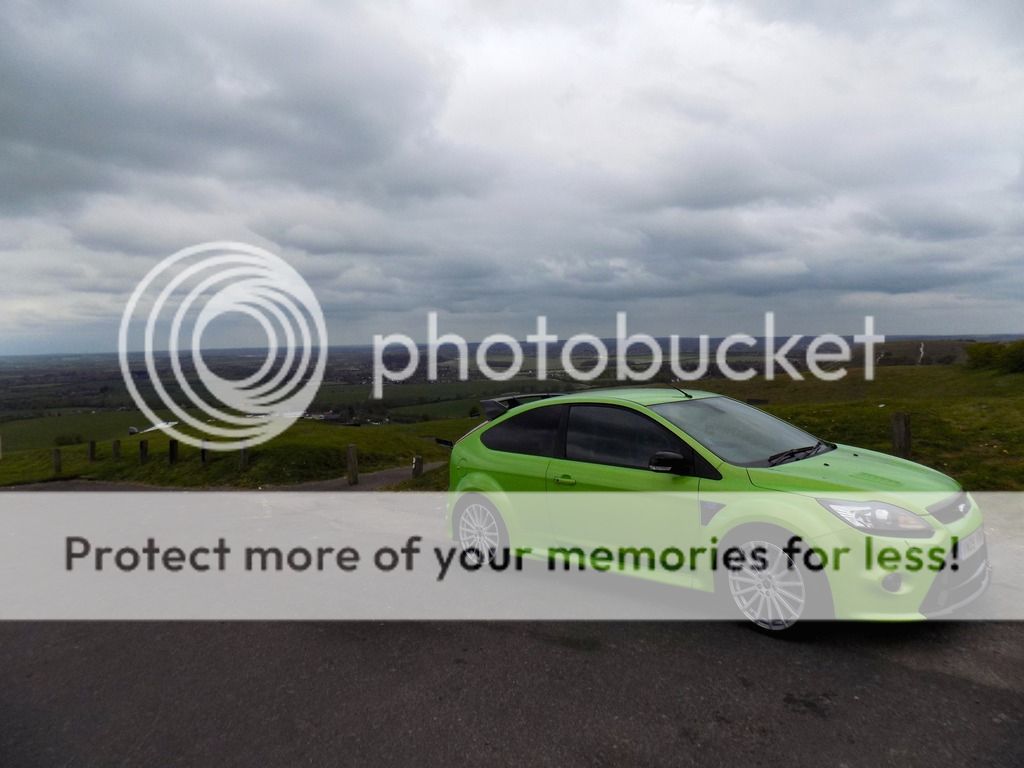
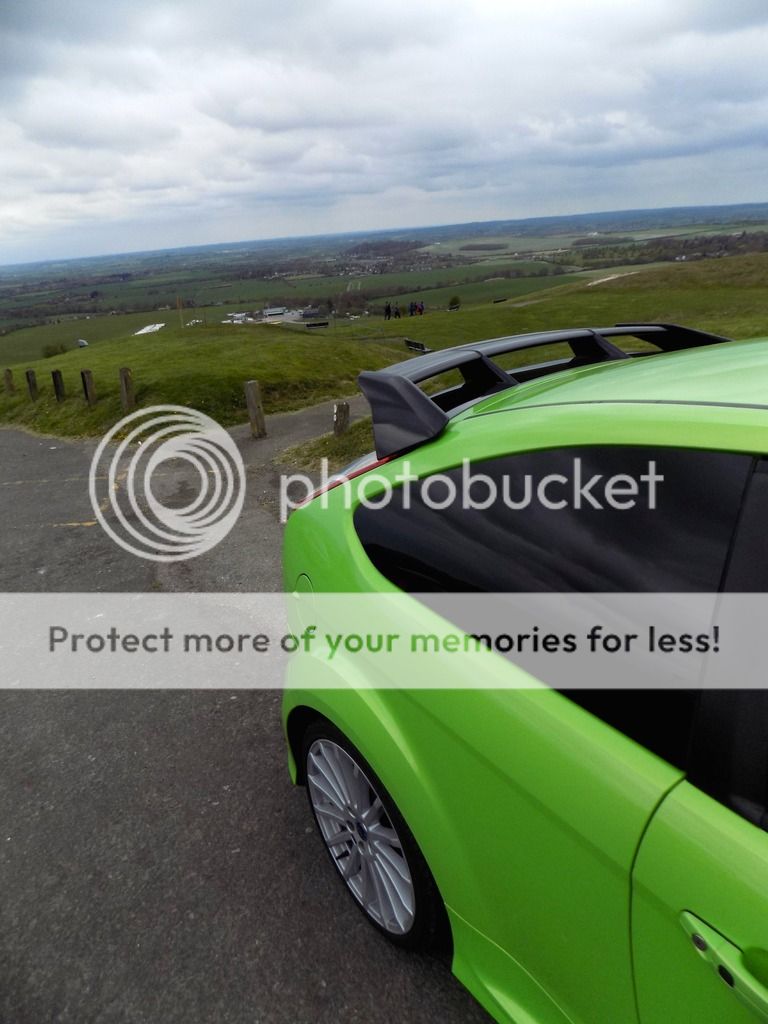
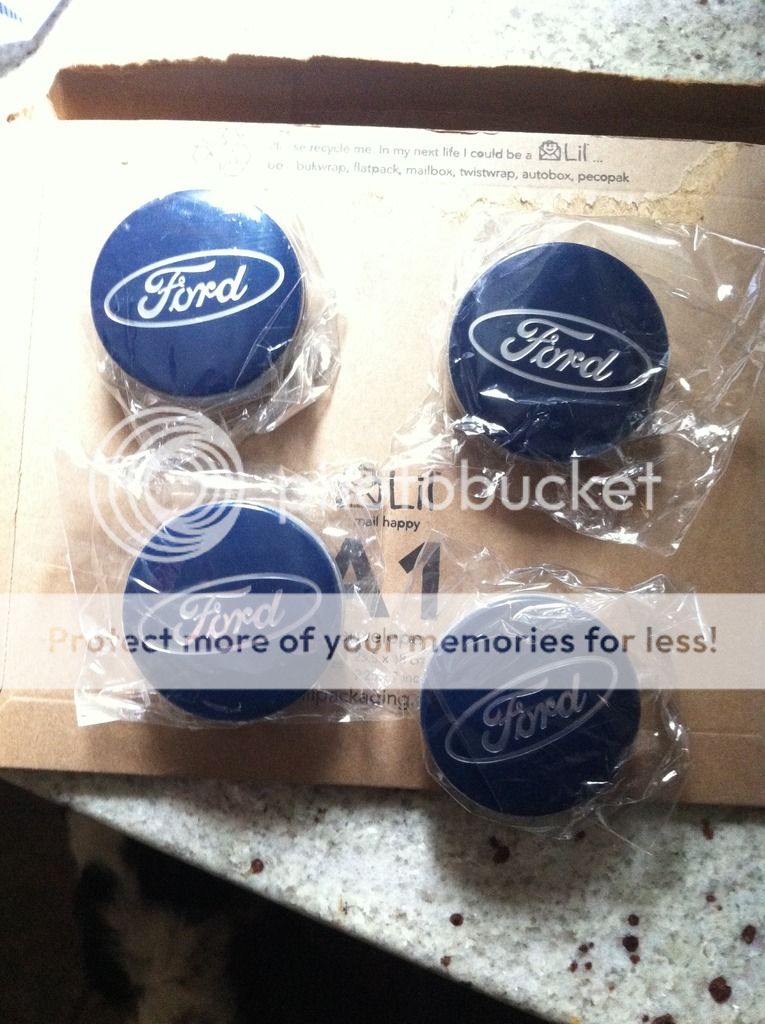
Looking through this part of the forum there are some really good projects people have going on with their cars, hopefully I will be able to get a few things upgraded on mine soon but for now i've just made a start on tidying all the little bits up on my RS that I've noticed in the week I've had it. I picked it up last saturday, (4/04/15) and theres been a few little things that have been bugging me ever since, they are all things i could probably live with but im a bit OCD with things like that so i can't ignore them :laughing: . What started as an early finish at work and having a look at the bonnet catch turned into 2 trips to Halfords and half an hour spent in Hobbycraft :facepalm: (must've seen every possible colour blue ever invented in that shop :l . Id already been to Halfords the night before to look the paint aswell. Anyway, a mate had also let me borrow his OBD reader to see if anything was stored on my RS & luckily there isn't anything

Next up, the things that were not important but every time i looked at my RS, i saw them straight away as they weren't 'right' :sad:
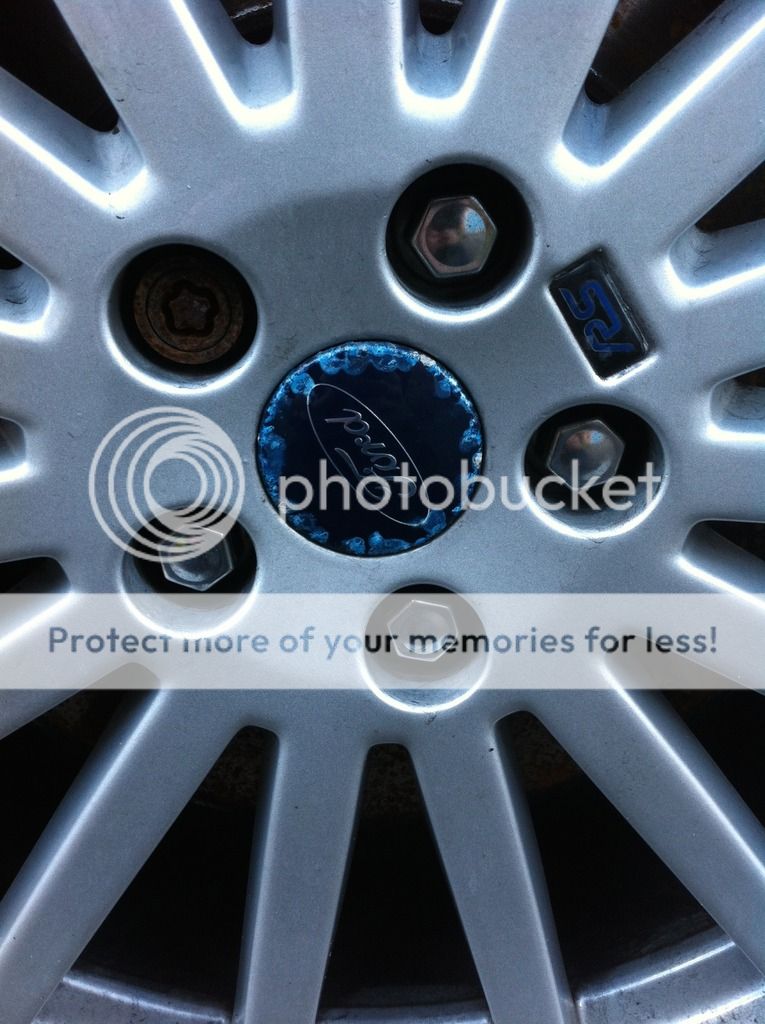
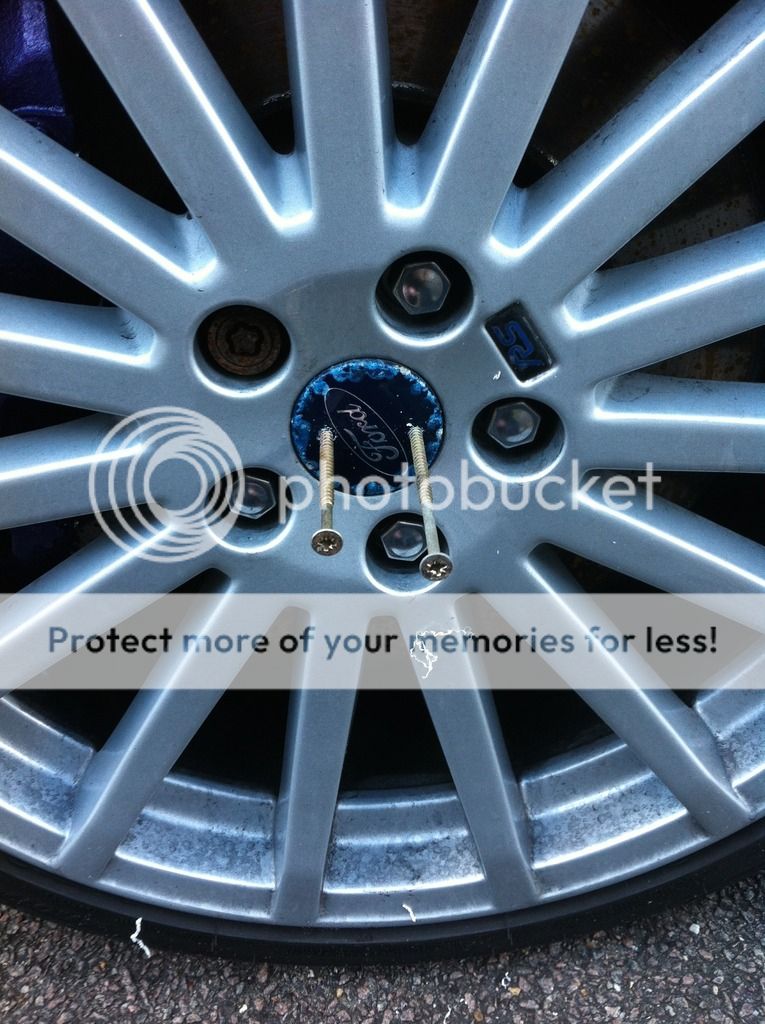
Faded/cracked badge
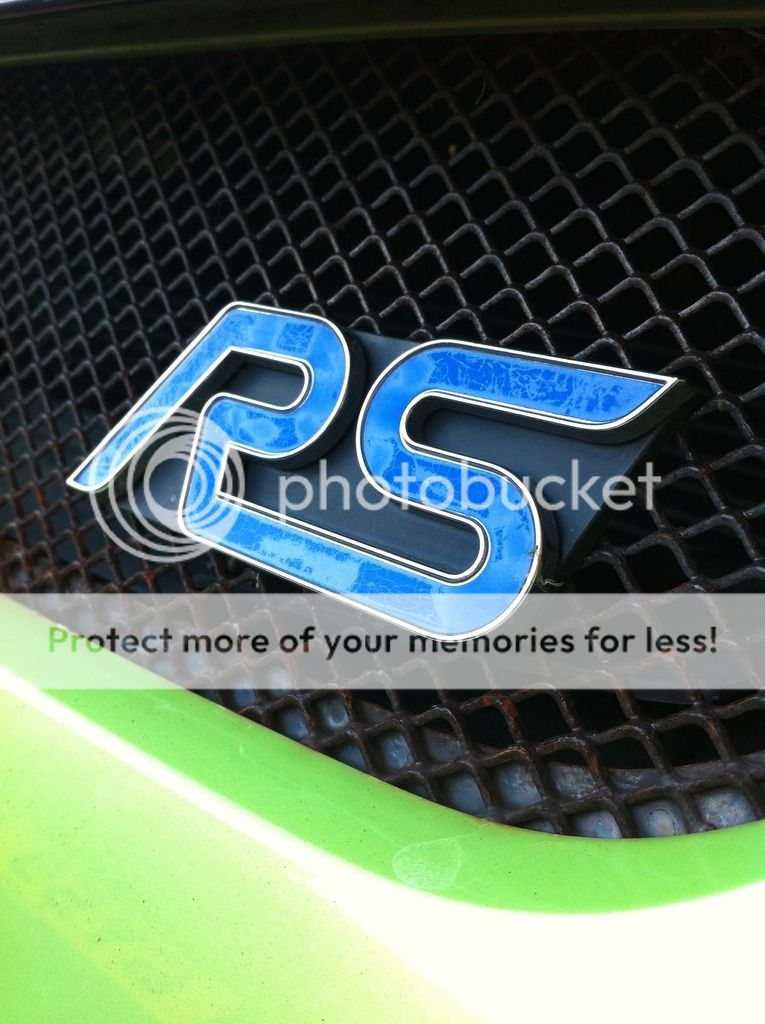
And a rusty grill

Thats the 1st trip to Halfords then riginal:
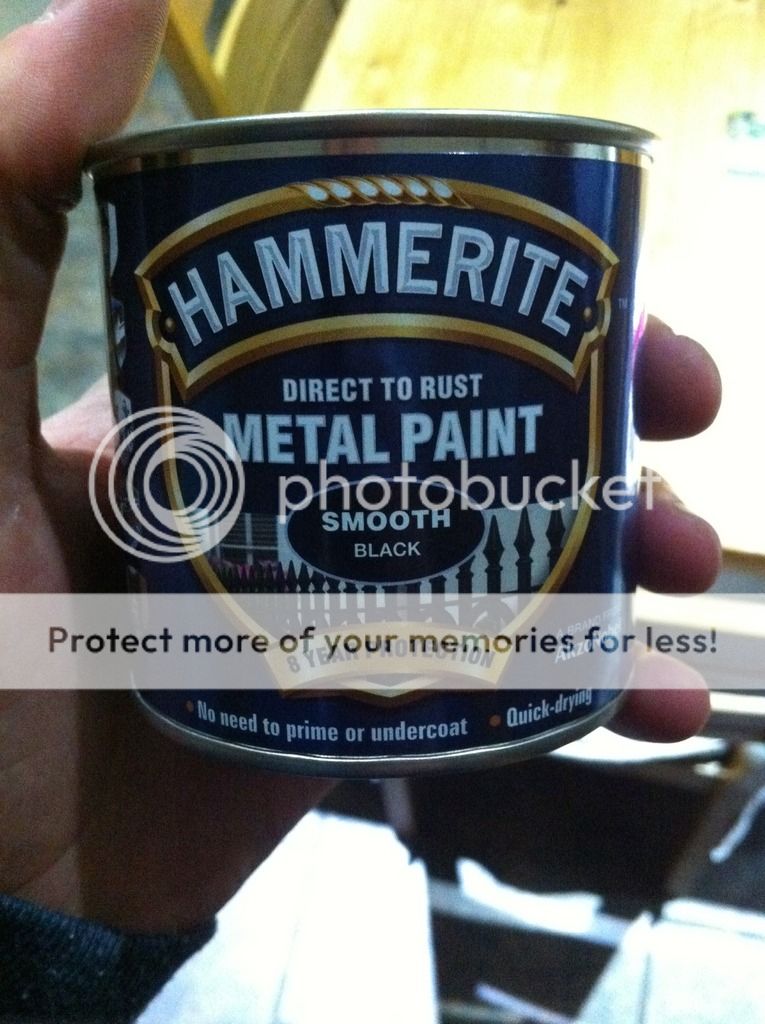

Took a couple of bits of trim off and had everything i needed to make a start on cleaning stuff up :nice:


Cleaned the grill up as best as i could with wire wool, sandpaper and an air compressor to blow all the away and then started the painting. Frog tape came in handy & is the best colour for tape too :smile:

Seemed like it took ages to start with as i was looking at them as 'individual little shapes' but then i looked at them as if they were in 'lines of shapes' & it was done in no time 8). Just doing part of 1 grill made a big difference

Nearly there

All done

The only problem now though, the RS badge stood out even more :thumbsdown:

So i had an idea, didn't know if it was any good but off i went to Hobbycraft

Gave it a quick clean to get rid of any oil or stuff to stop the paint sticking

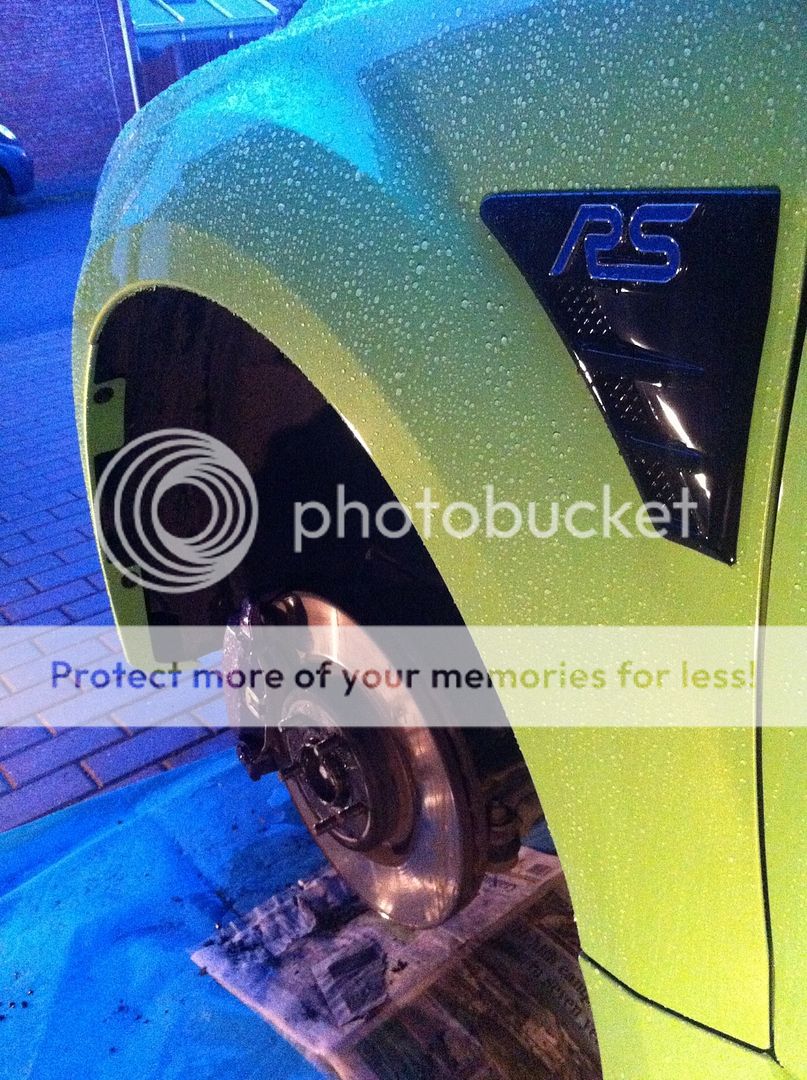
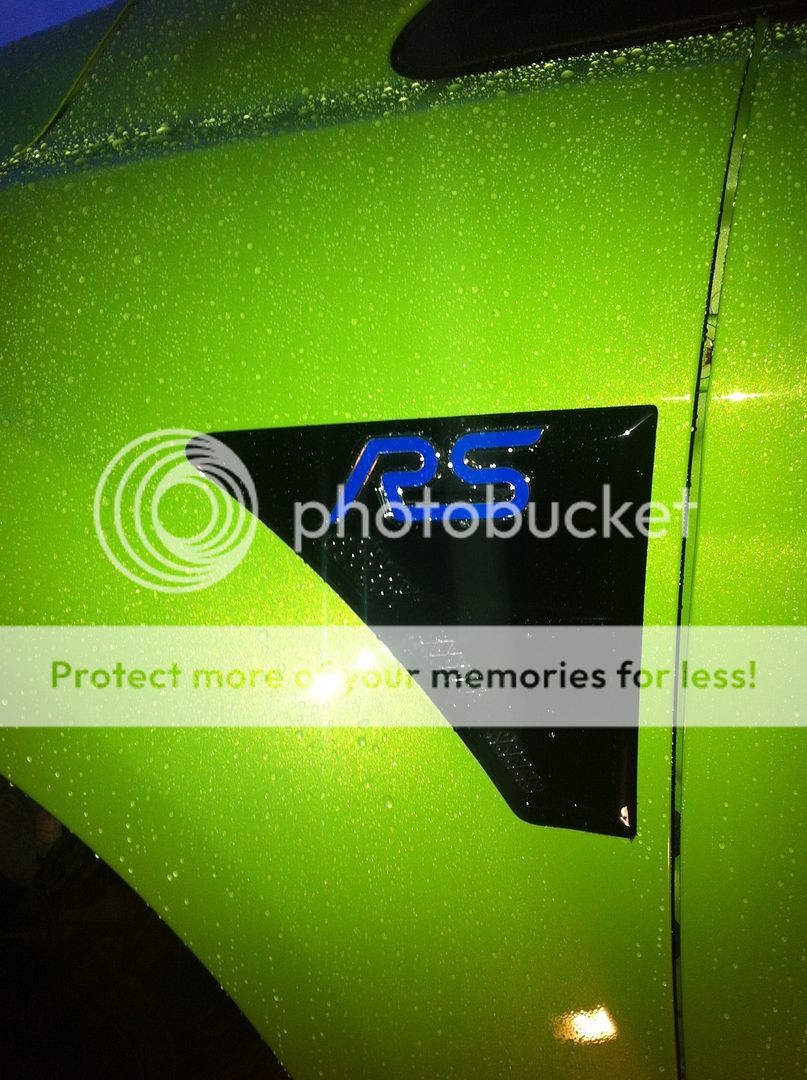
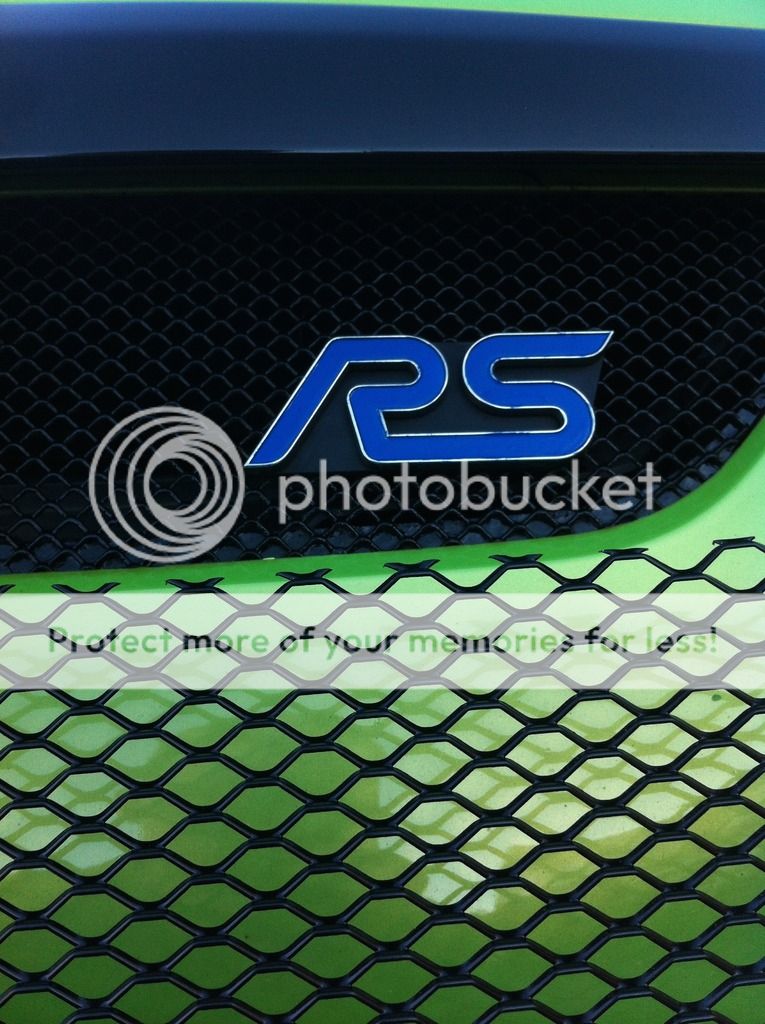
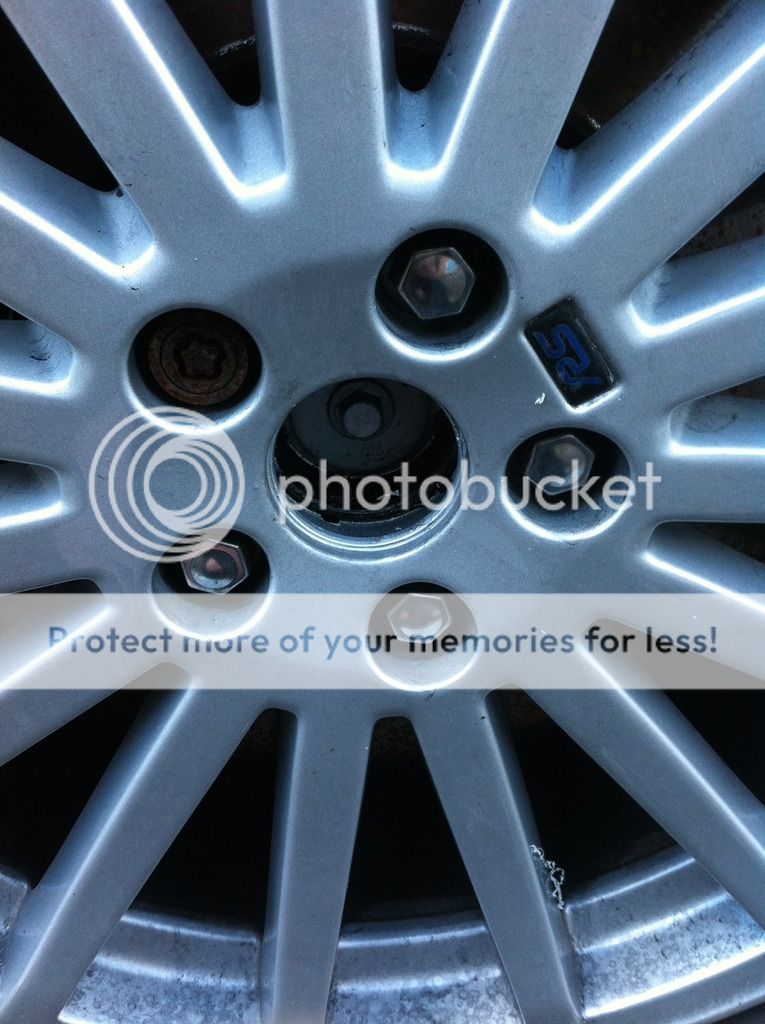
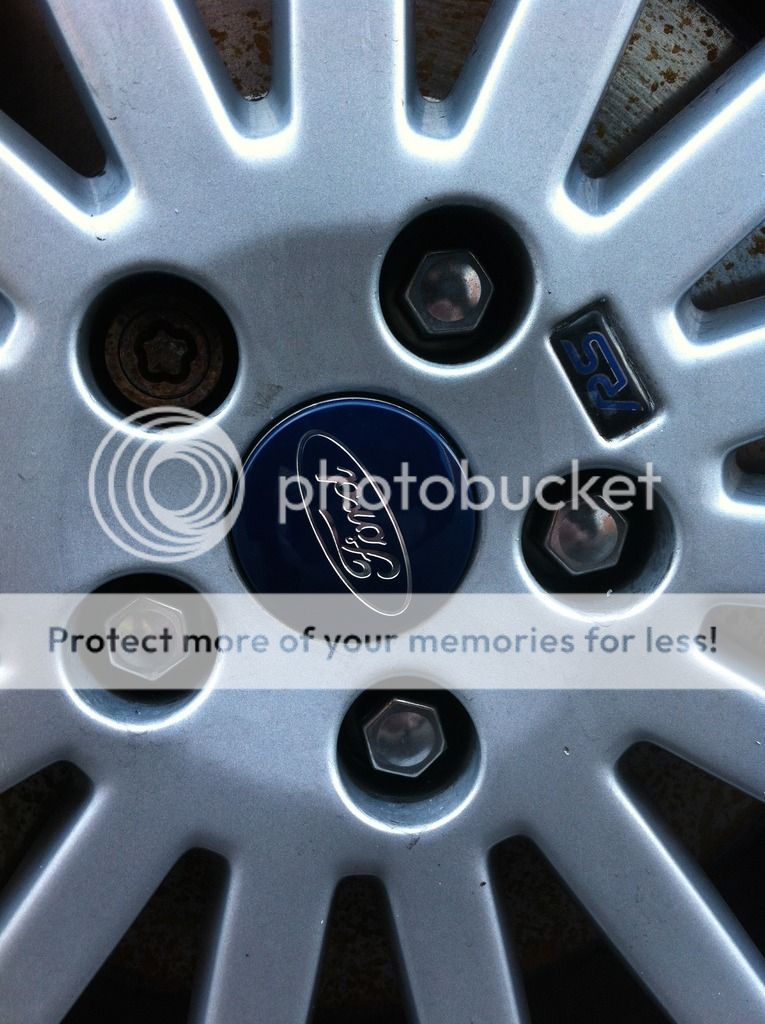
And then got painting . i took a photo on my phone of the RS badge on the wing so i had a rough idea of what to aim for, Ended up looking through loads of different colour blues & this seemed to be the closest match i could find. I know you can buy the gel inlays for them but a couple of us are probably going into london over the weekend to get some photos of our cars & i wanted it to look its best so time wasn't really on my side. For £1.75 a tin, it was worth a shot at least. I tested it on a small section of the badge 1st just incase i made a lash of it :smile: , then went for it & done the 'R'..... Not a bad match either really,

Finished
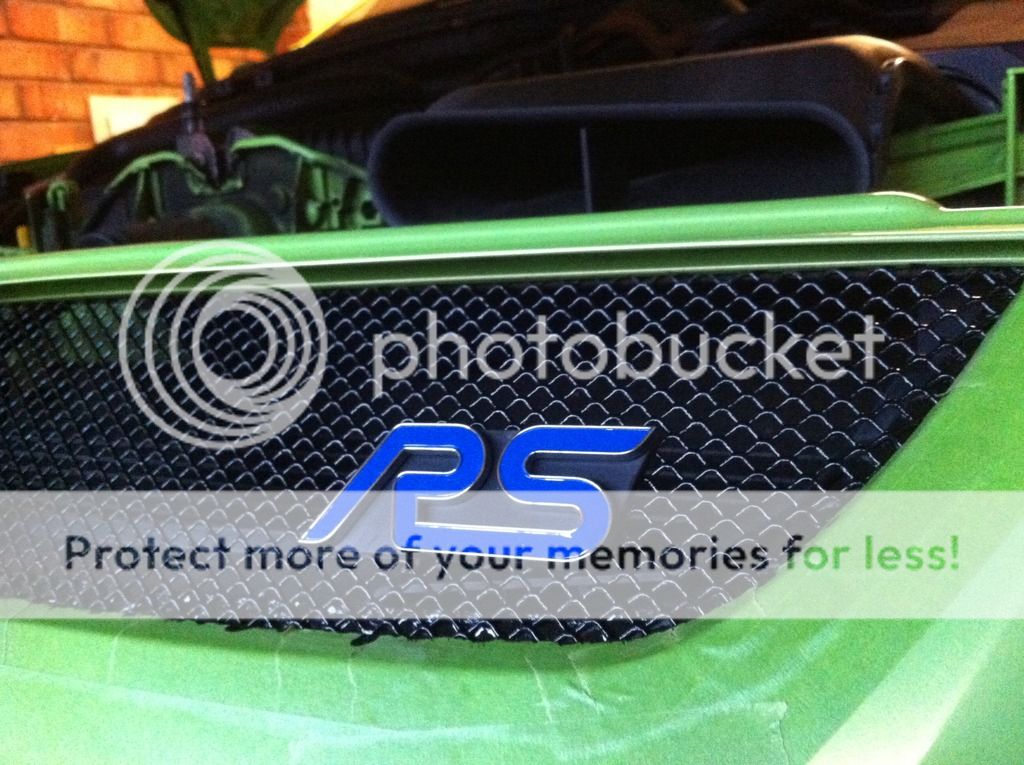
By now it was dark :facepalm: . So i improvised :smile:

Happy with how it turned out though

I didn't get any photo's of the next bit as my phone went flat from using it as a torch but the scuttle panel below the windscreen was faded black/grey so i had a look at how to take that off but then saw the windscreen wiper arms looked a bit tired so while they were off, i might aswell do something about those too so back to Halfords for some paint, in a rattle can this time though. Wasn't really sure if they should be matt black or satin black, went for satin though. If it doesnt look right it shouldnt be too hard to change it .
.
Can't really see but they looked a bit iffy

Cleaned them up and sanded them off though, can sort of see the difference between the 2 in this pic.
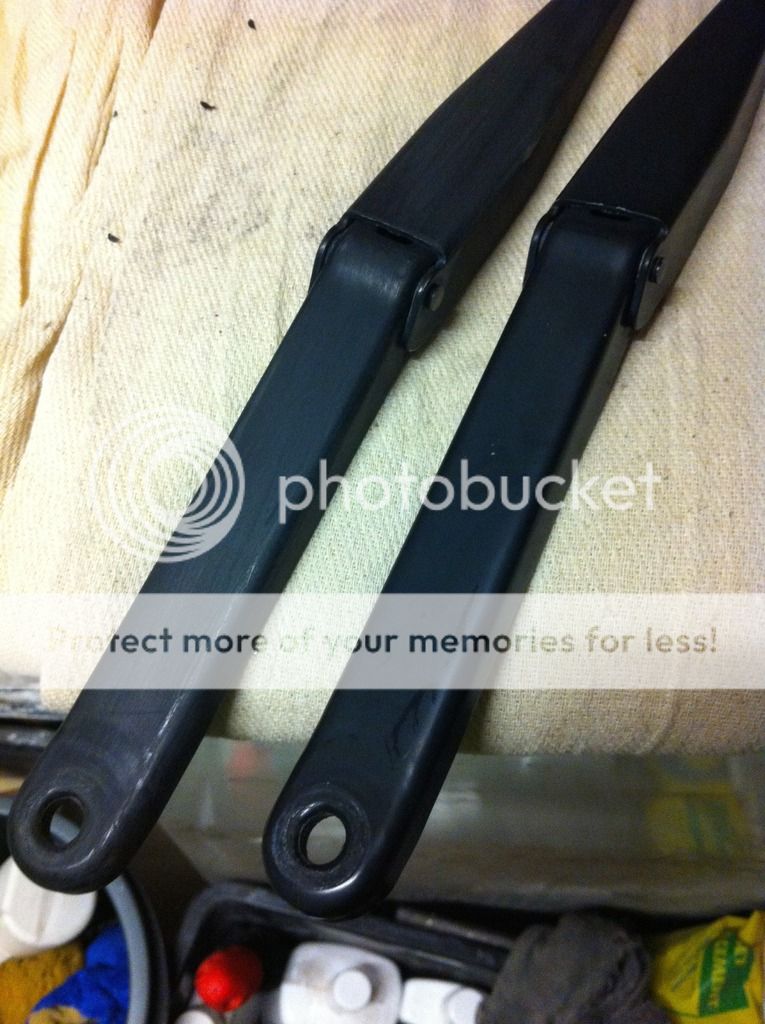
Everything that came off either got cleaned up or cleaned/sanded and ready to paint. Including the little clips :blush:
Ill need to clean out under the windscreen tomorow now, it was gone 10pm by the time id got to this point :facepalm:. surprising how much dirt and spiders were stashed away in there

Passenger side was cleaner though

For now, its still in pieces
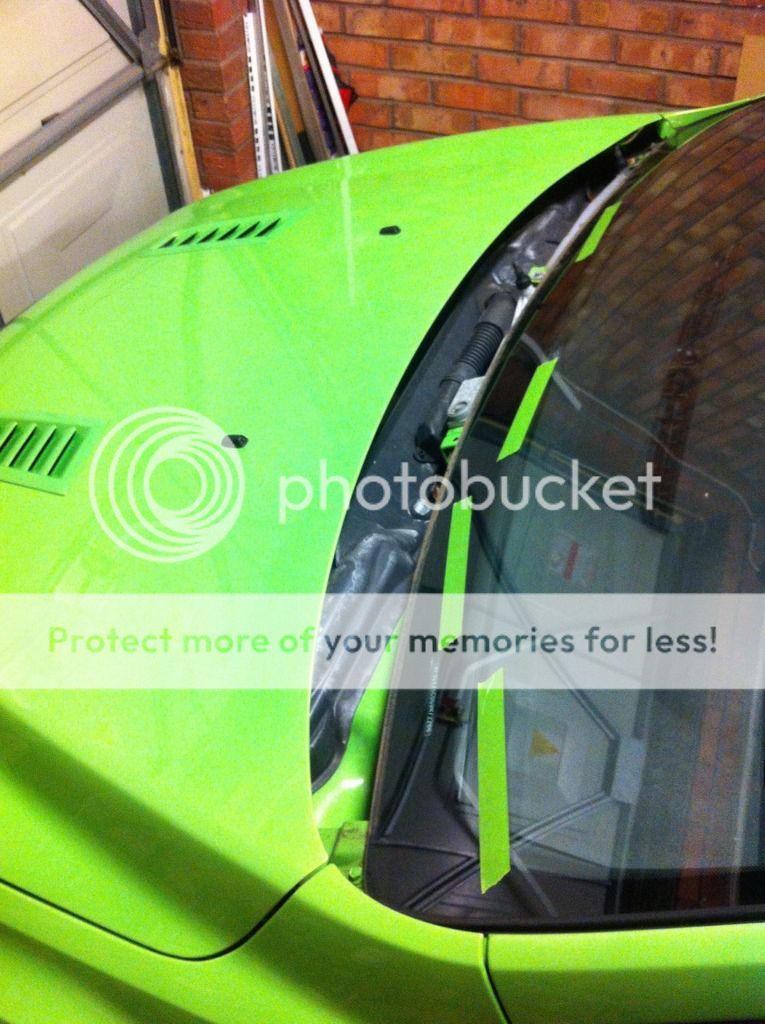
Hopefully when i pull the tape off from around the grill i haven't made a lash of it & its all stayed on the car & where it should be :laughing:. Painting using a phone as a torch wasn't my best idea but it cant look worse than it did.....can it? :laughing:.

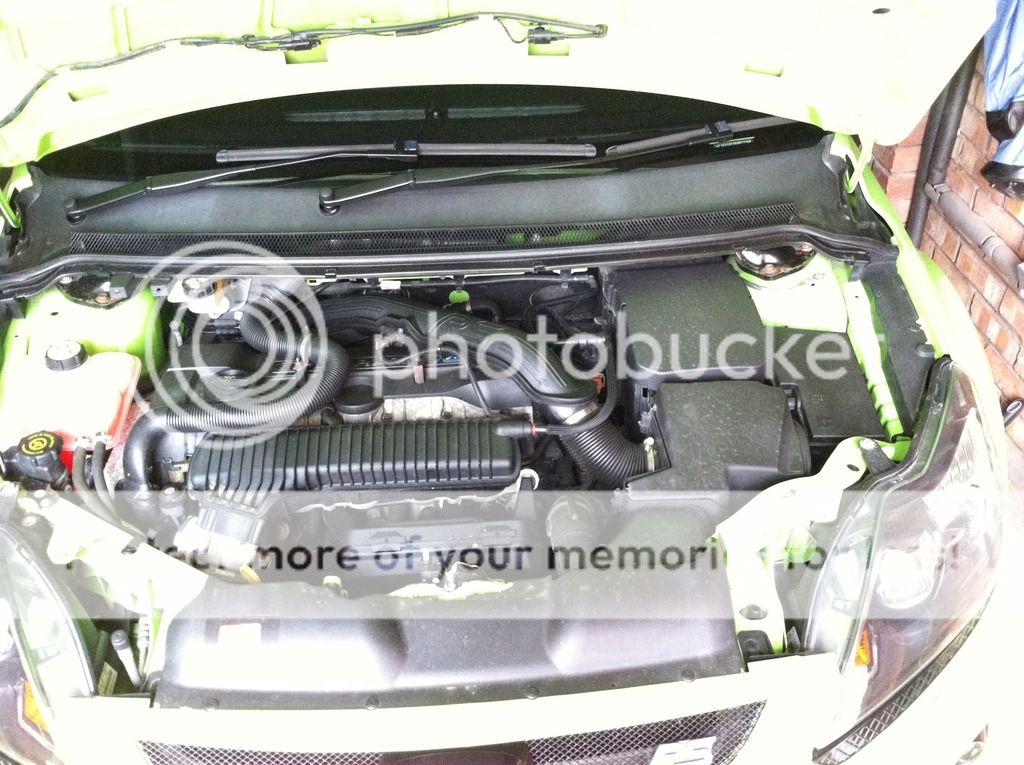
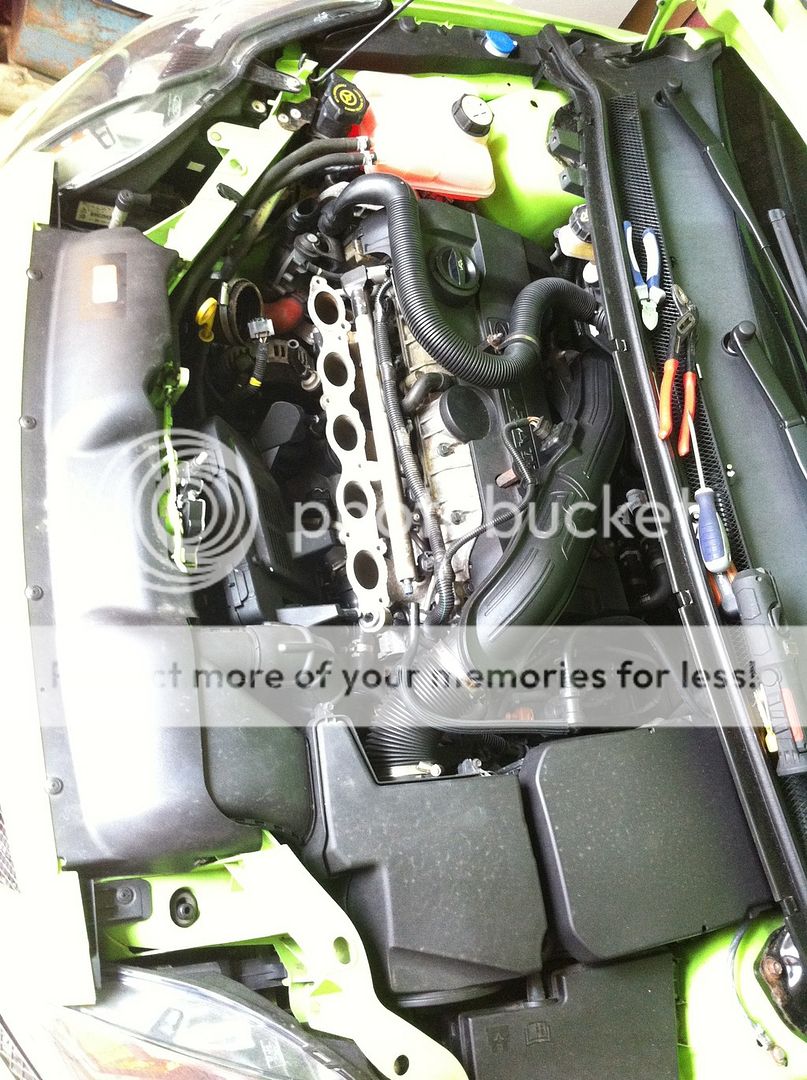
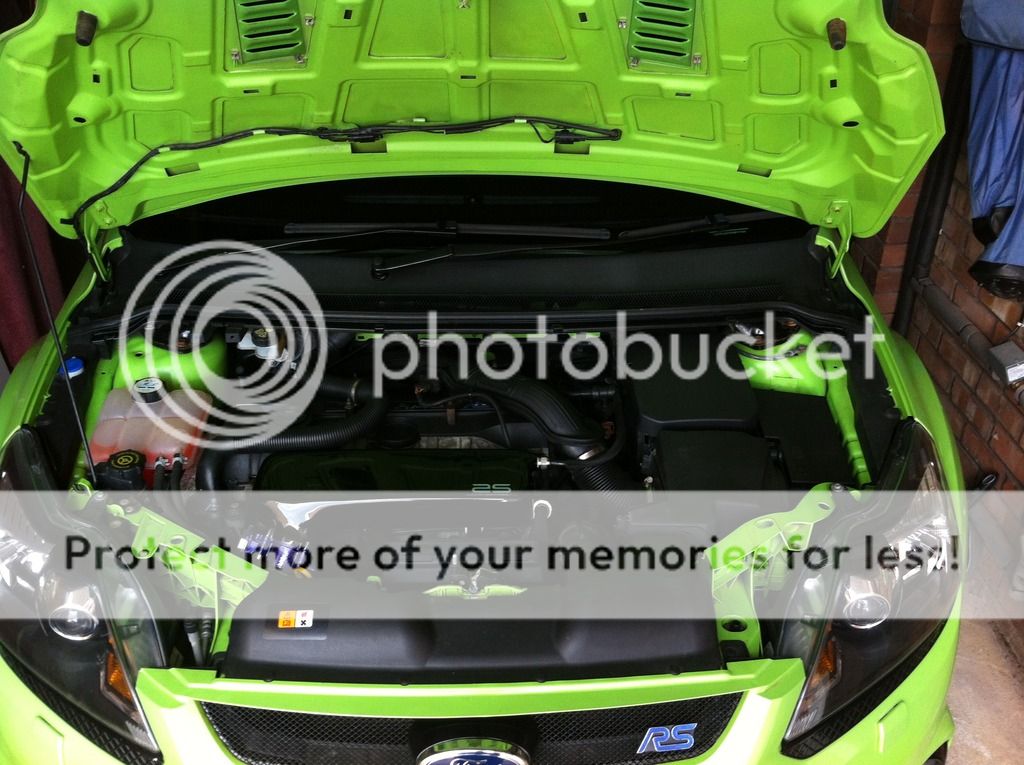
Next job is to get the wiper arms sprayed, scuttle panel sorted with some trim rejuvenator and make a start on cleaning up the engine bay itself. Not sure how far i will get this weekend, depends if/when i go out and what the weather is like. Should at least get the bits back on the car that are sitting in the garage now though

Next up, the things that were not important but every time i looked at my RS, i saw them straight away as they weren't 'right' :sad:
Faded/cracked badge

And a rusty grill

Thats the 1st trip to Halfords then


Took a couple of bits of trim off and had everything i needed to make a start on cleaning stuff up :nice:


Cleaned the grill up as best as i could with wire wool, sandpaper and an air compressor to blow all the

Seemed like it took ages to start with as i was looking at them as 'individual little shapes' but then i looked at them as if they were in 'lines of shapes' & it was done in no time 8). Just doing part of 1 grill made a big difference

Nearly there

All done

The only problem now though, the RS badge stood out even more :thumbsdown:

So i had an idea, didn't know if it was any good but off i went to Hobbycraft

Gave it a quick clean to get rid of any oil or stuff to stop the paint sticking

And then got painting

Finished

By now it was dark :facepalm: . So i improvised :smile:

Happy with how it turned out though

I didn't get any photo's of the next bit as my phone went flat from using it as a torch but the scuttle panel below the windscreen was faded black/grey so i had a look at how to take that off but then saw the windscreen wiper arms looked a bit tired so while they were off, i might aswell do something about those too so back to Halfords for some paint, in a rattle can this time though. Wasn't really sure if they should be matt black or satin black, went for satin though. If it doesnt look right it shouldnt be too hard to change it
Can't really see but they looked a bit iffy

Cleaned them up and sanded them off though, can sort of see the difference between the 2 in this pic.

Everything that came off either got cleaned up or cleaned/sanded and ready to paint. Including the little clips :blush:

Ill need to clean out under the windscreen tomorow now, it was gone 10pm by the time id got to this point :facepalm:. surprising how much dirt and spiders were stashed away in there

Passenger side was cleaner though

For now, its still in pieces

Hopefully when i pull the tape off from around the grill i haven't made a lash of it & its all stayed on the car & where it should be :laughing:. Painting using a phone as a torch wasn't my best idea but it cant look worse than it did.....can it? :laughing:.

Next job is to get the wiper arms sprayed, scuttle panel sorted with some trim rejuvenator and make a start on cleaning up the engine bay itself. Not sure how far i will get this weekend, depends if/when i go out and what the weather is like. Should at least get the bits back on the car that are sitting in the garage now though


